Taking a little break…..

So as life would have it, I’m super busy at the moment, and because of my lack of posts recently, I wanted to explain.

I graduated early 2014 with a Sociology degree from the University of Birmingham. I was super happy that I managed it, as in my final year, after batch after batch of tonsillitis, I had something called CMV (weird kinda strain of glandular fever) which hit me really hard. I was referred to a haematology and oncology specialist who was absolutely lovely and made me feel so much better, pyschologically if not physically. I had some blood transfusions and I seemed to be on the mend, although I still have really really tired days.

So after all that I decided to go travelling. First stop was Argentina, passing through Chile and Bolivia and finishing in Peru. Next was the Yasawa islands in Fiji, and finally a tour through the north island of New Zealand. I came back home feeling exhilarated and ready for my next adventure, whatever that may be.

The problem was I had no clue what I wanted to do. I’d always had an inkling that I might like nursing. With my boyfriend and his bowel problems, my Mom and her fibromyalgia, my Nan having alzheimer’s and my brother having high functioning autism, I’ve always felt that I’ve been pushed into caring roles, which I find challenging but so so worthwhile and meaningful.

It’s taken me 9 months to have enough belief and encouragement to follow this somewhat dream…. yes, I suppose it is a dream!

So I am currently looking at universities (this feels so surreal) in the hope of studying nursing, whether that be at an undergraduate or postgraduate level. I am also working as a health care assistant in a care home, which is sapping so much of my time and energy, that baking and food is taking a little bit of a back burner at the moment.

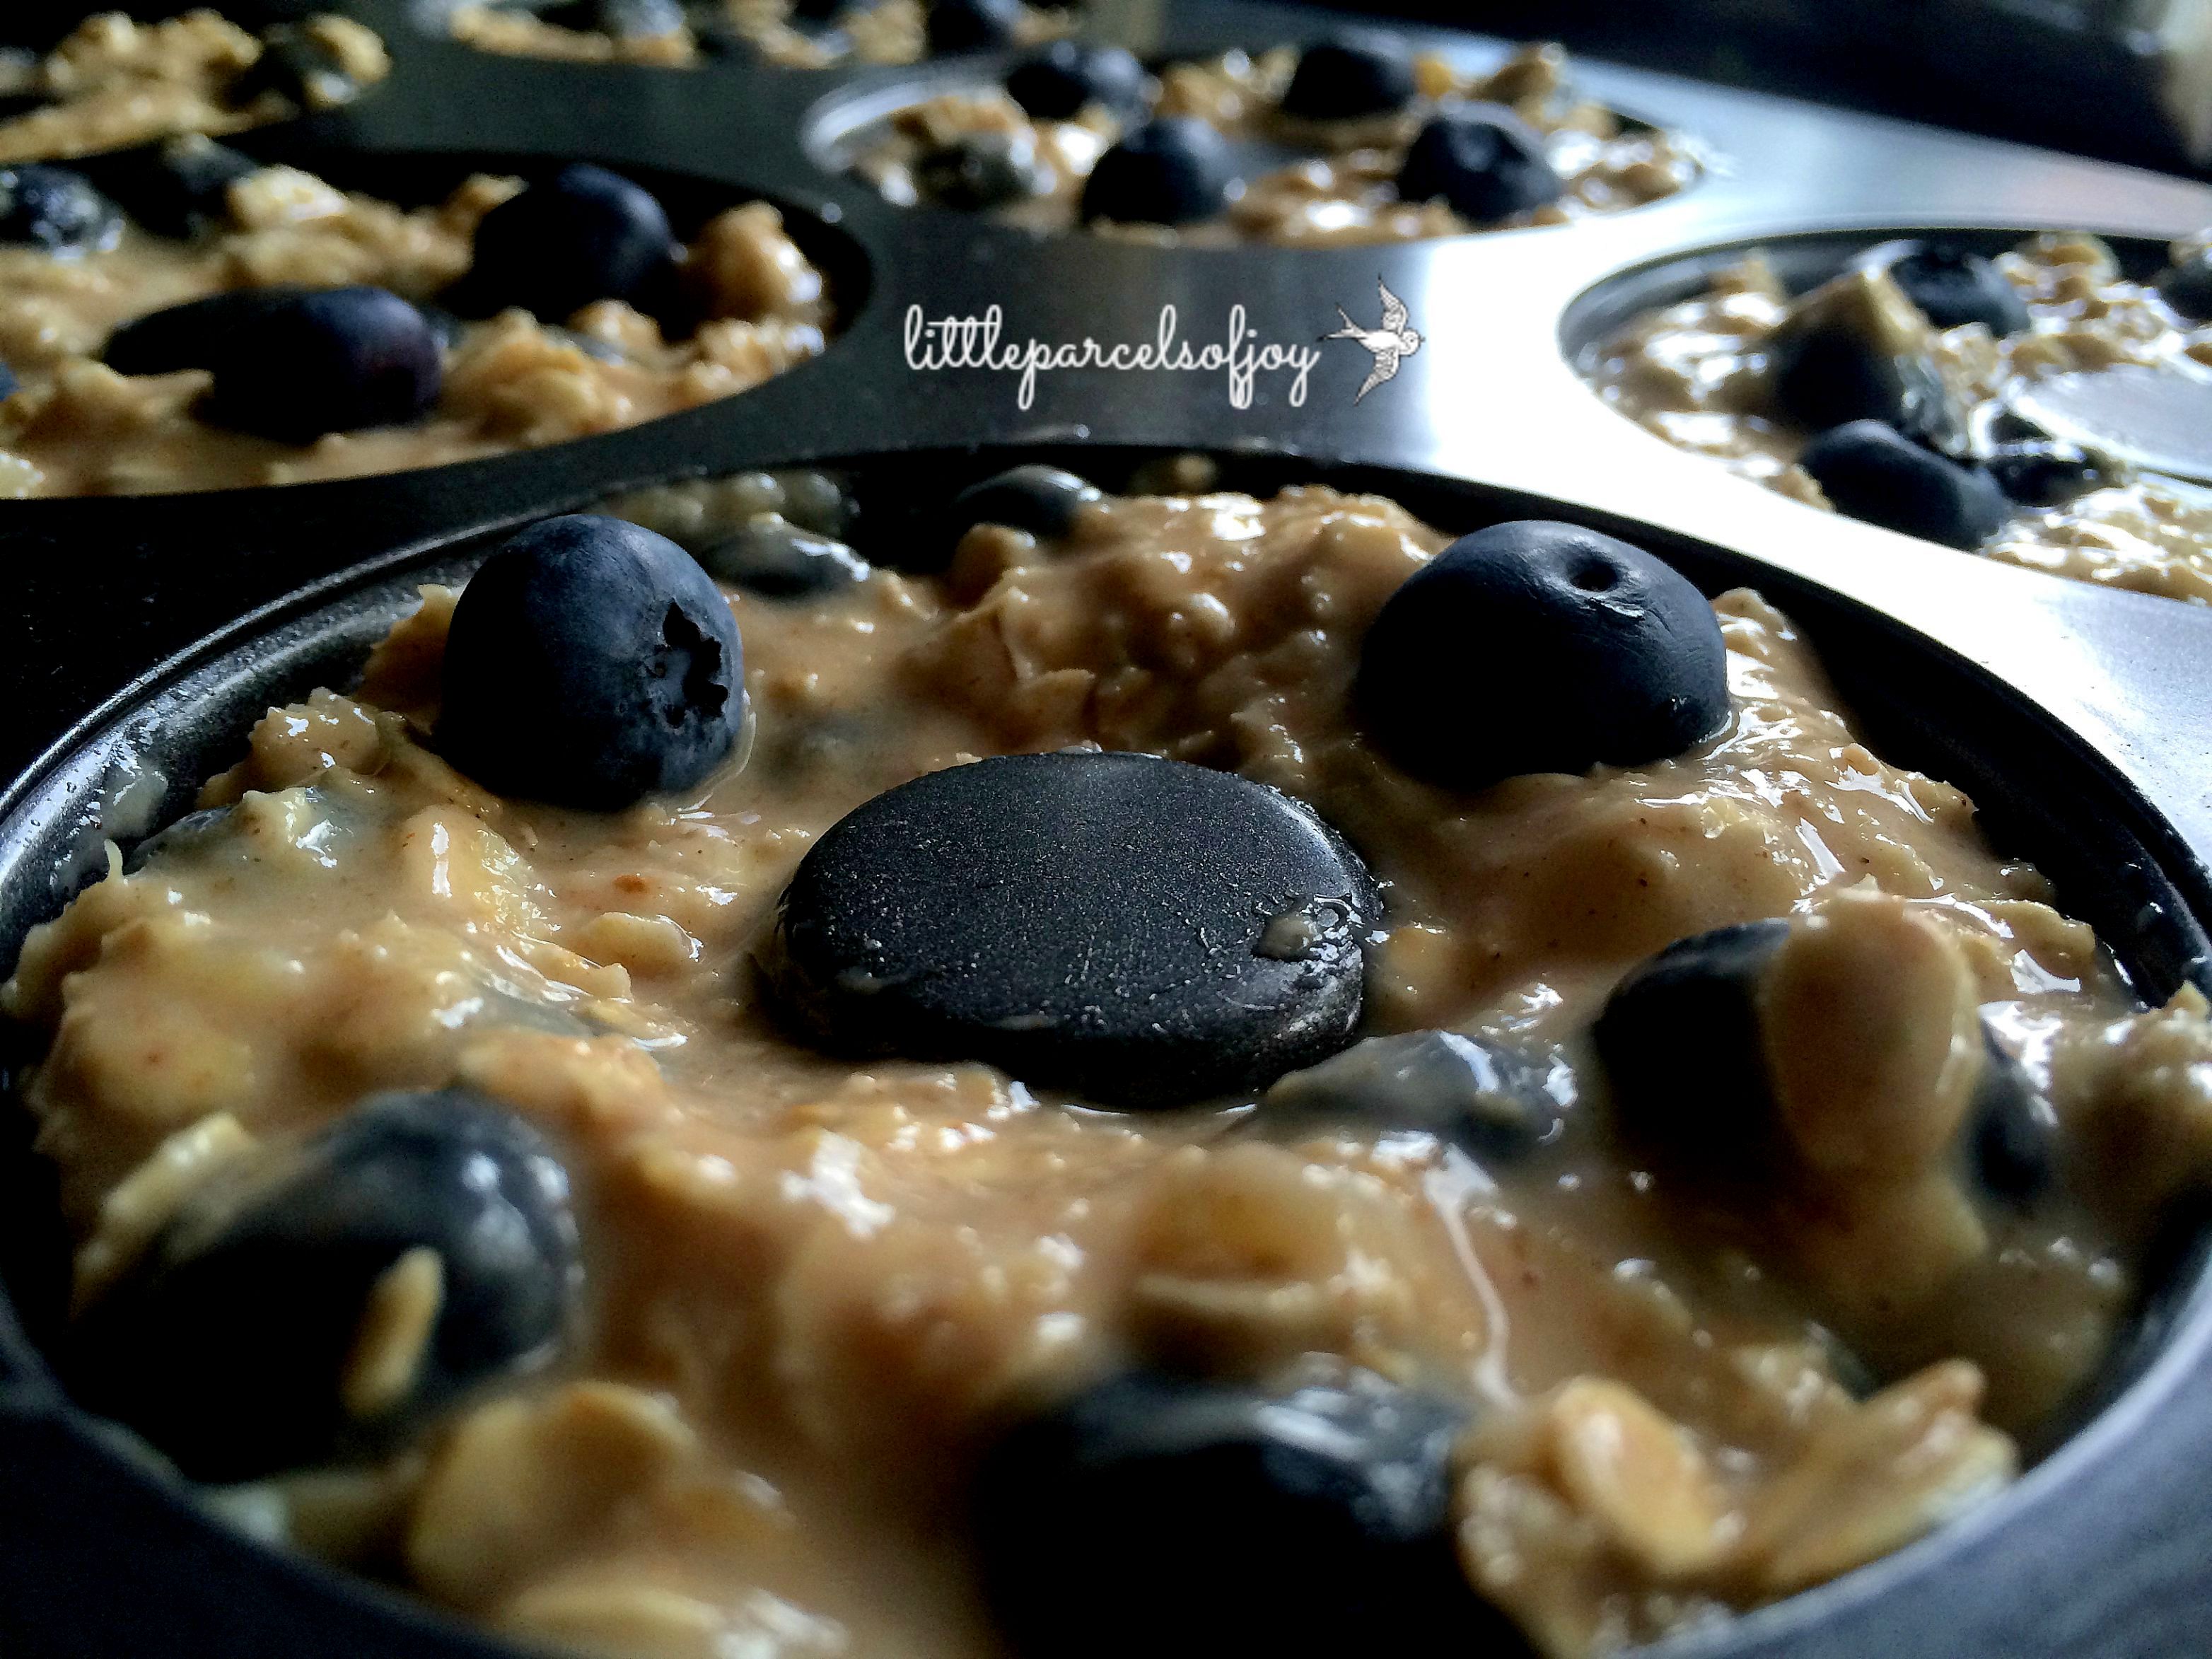
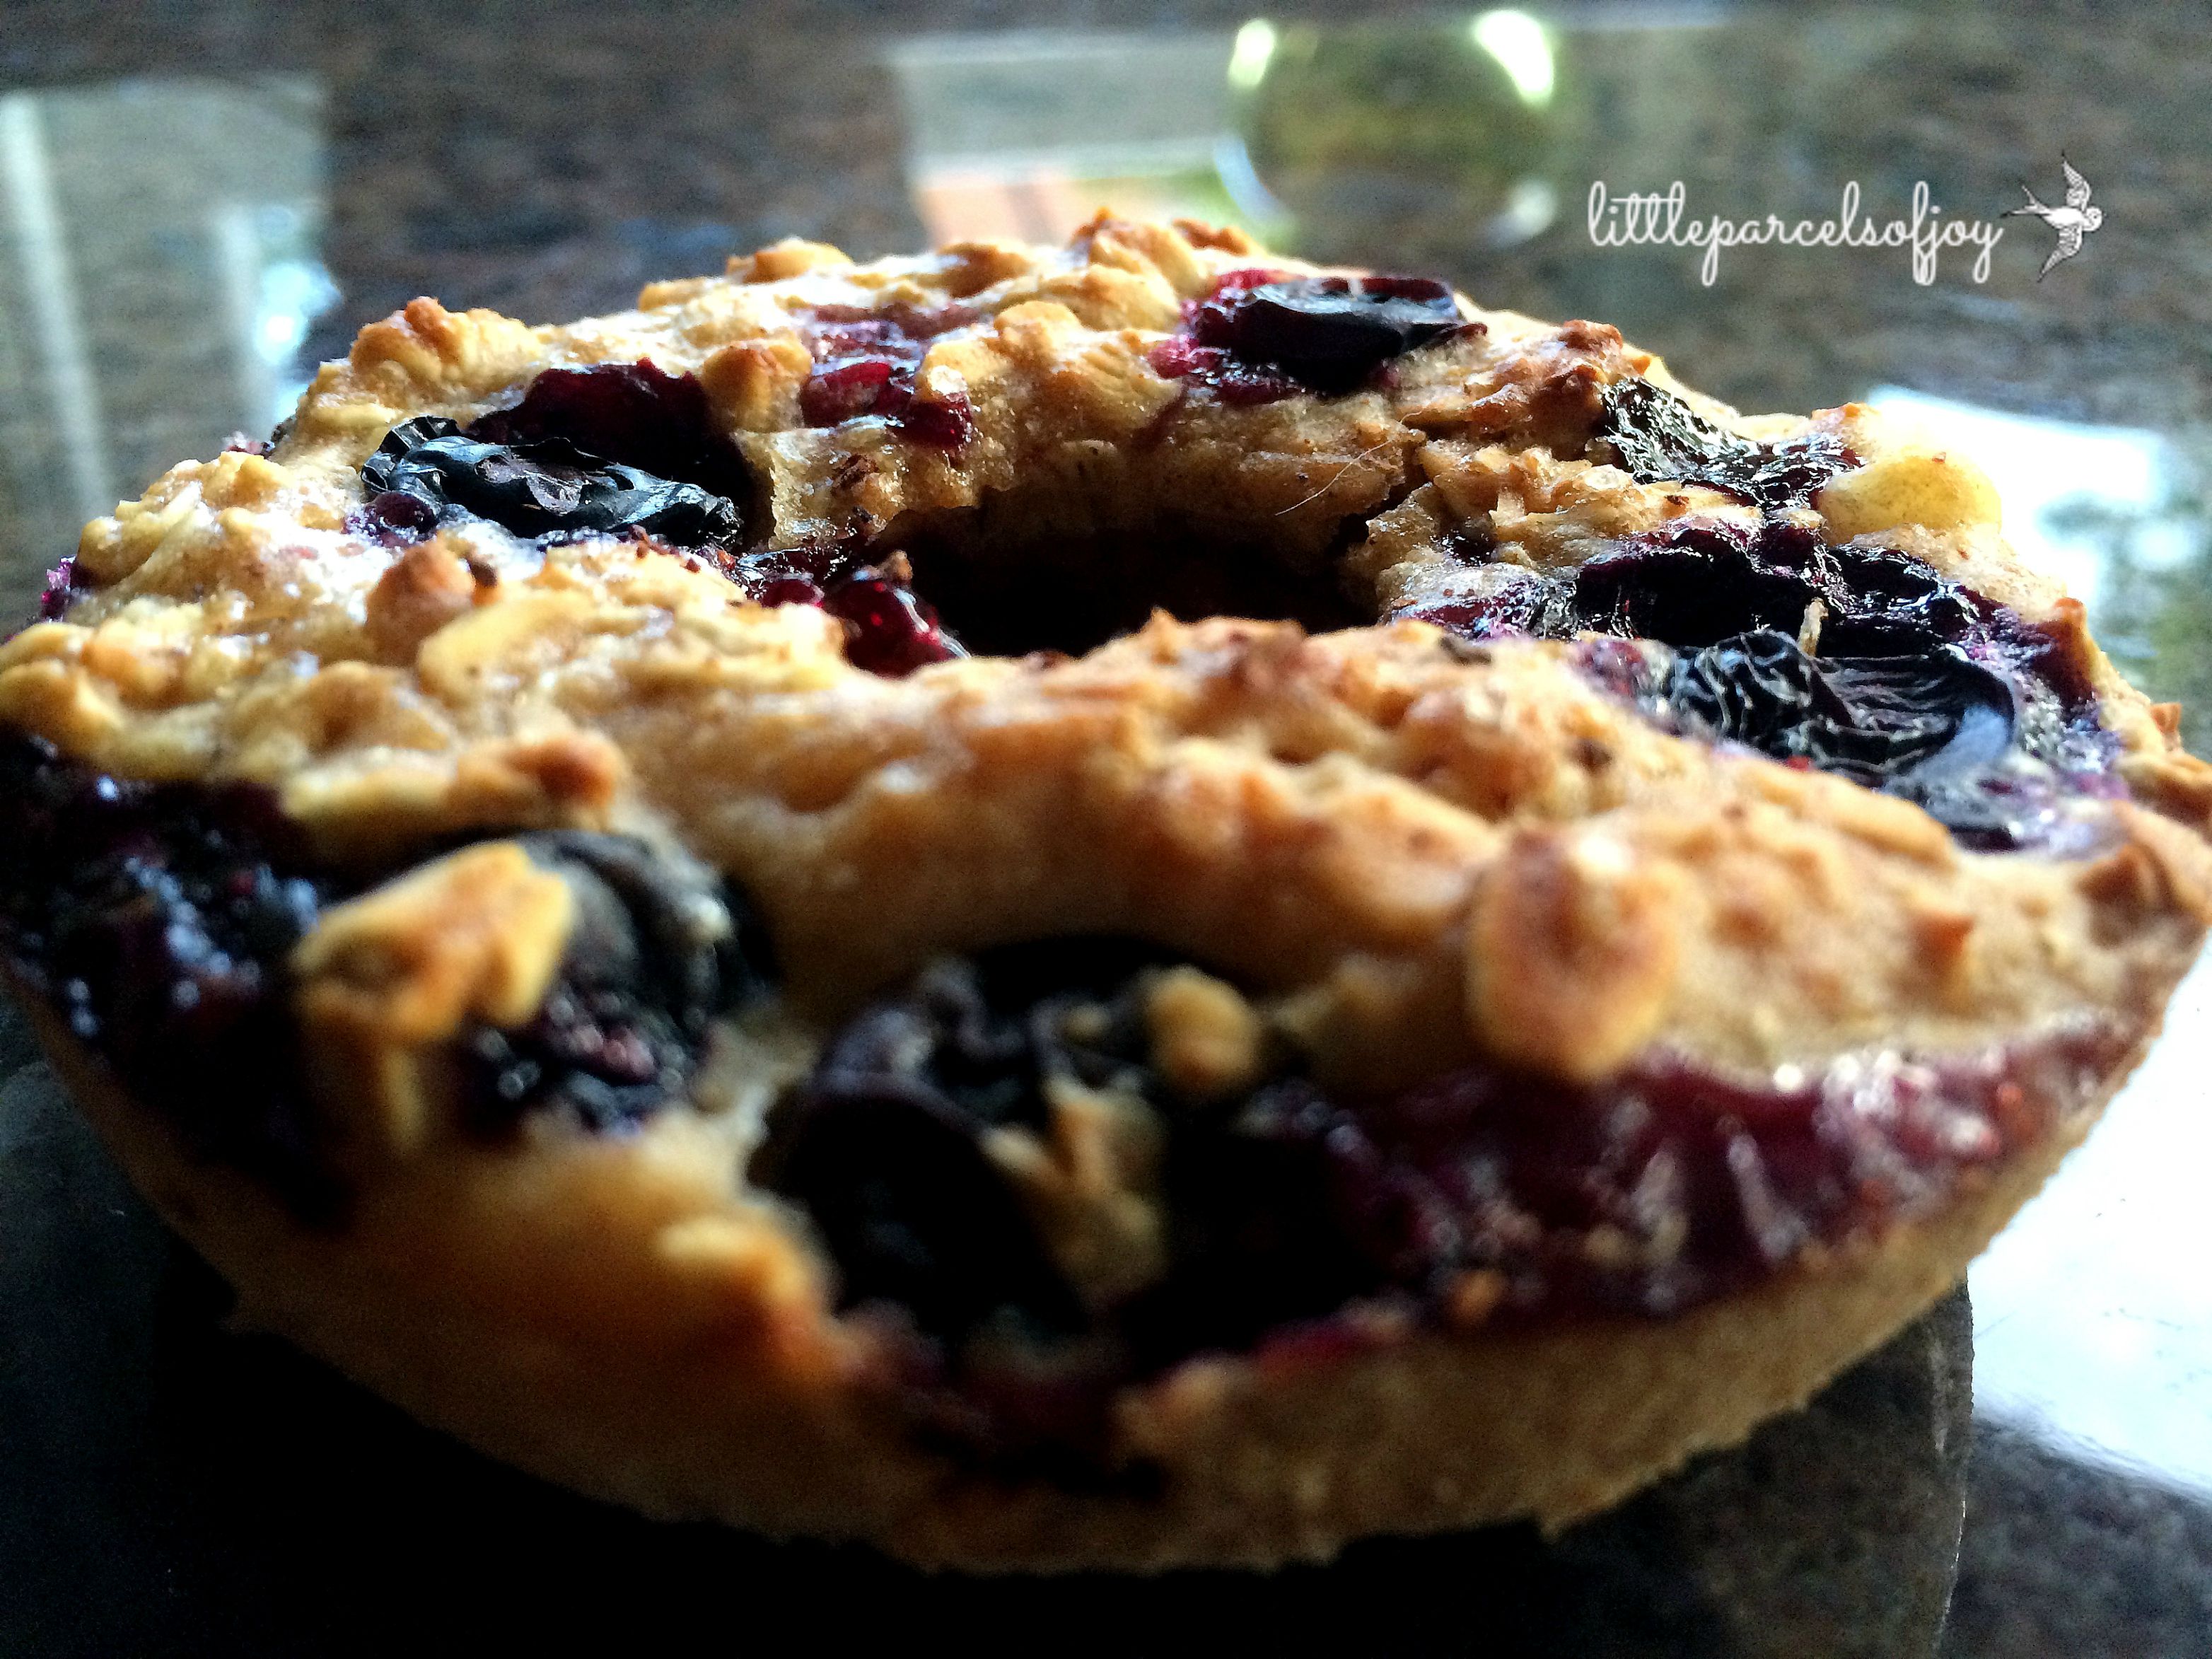
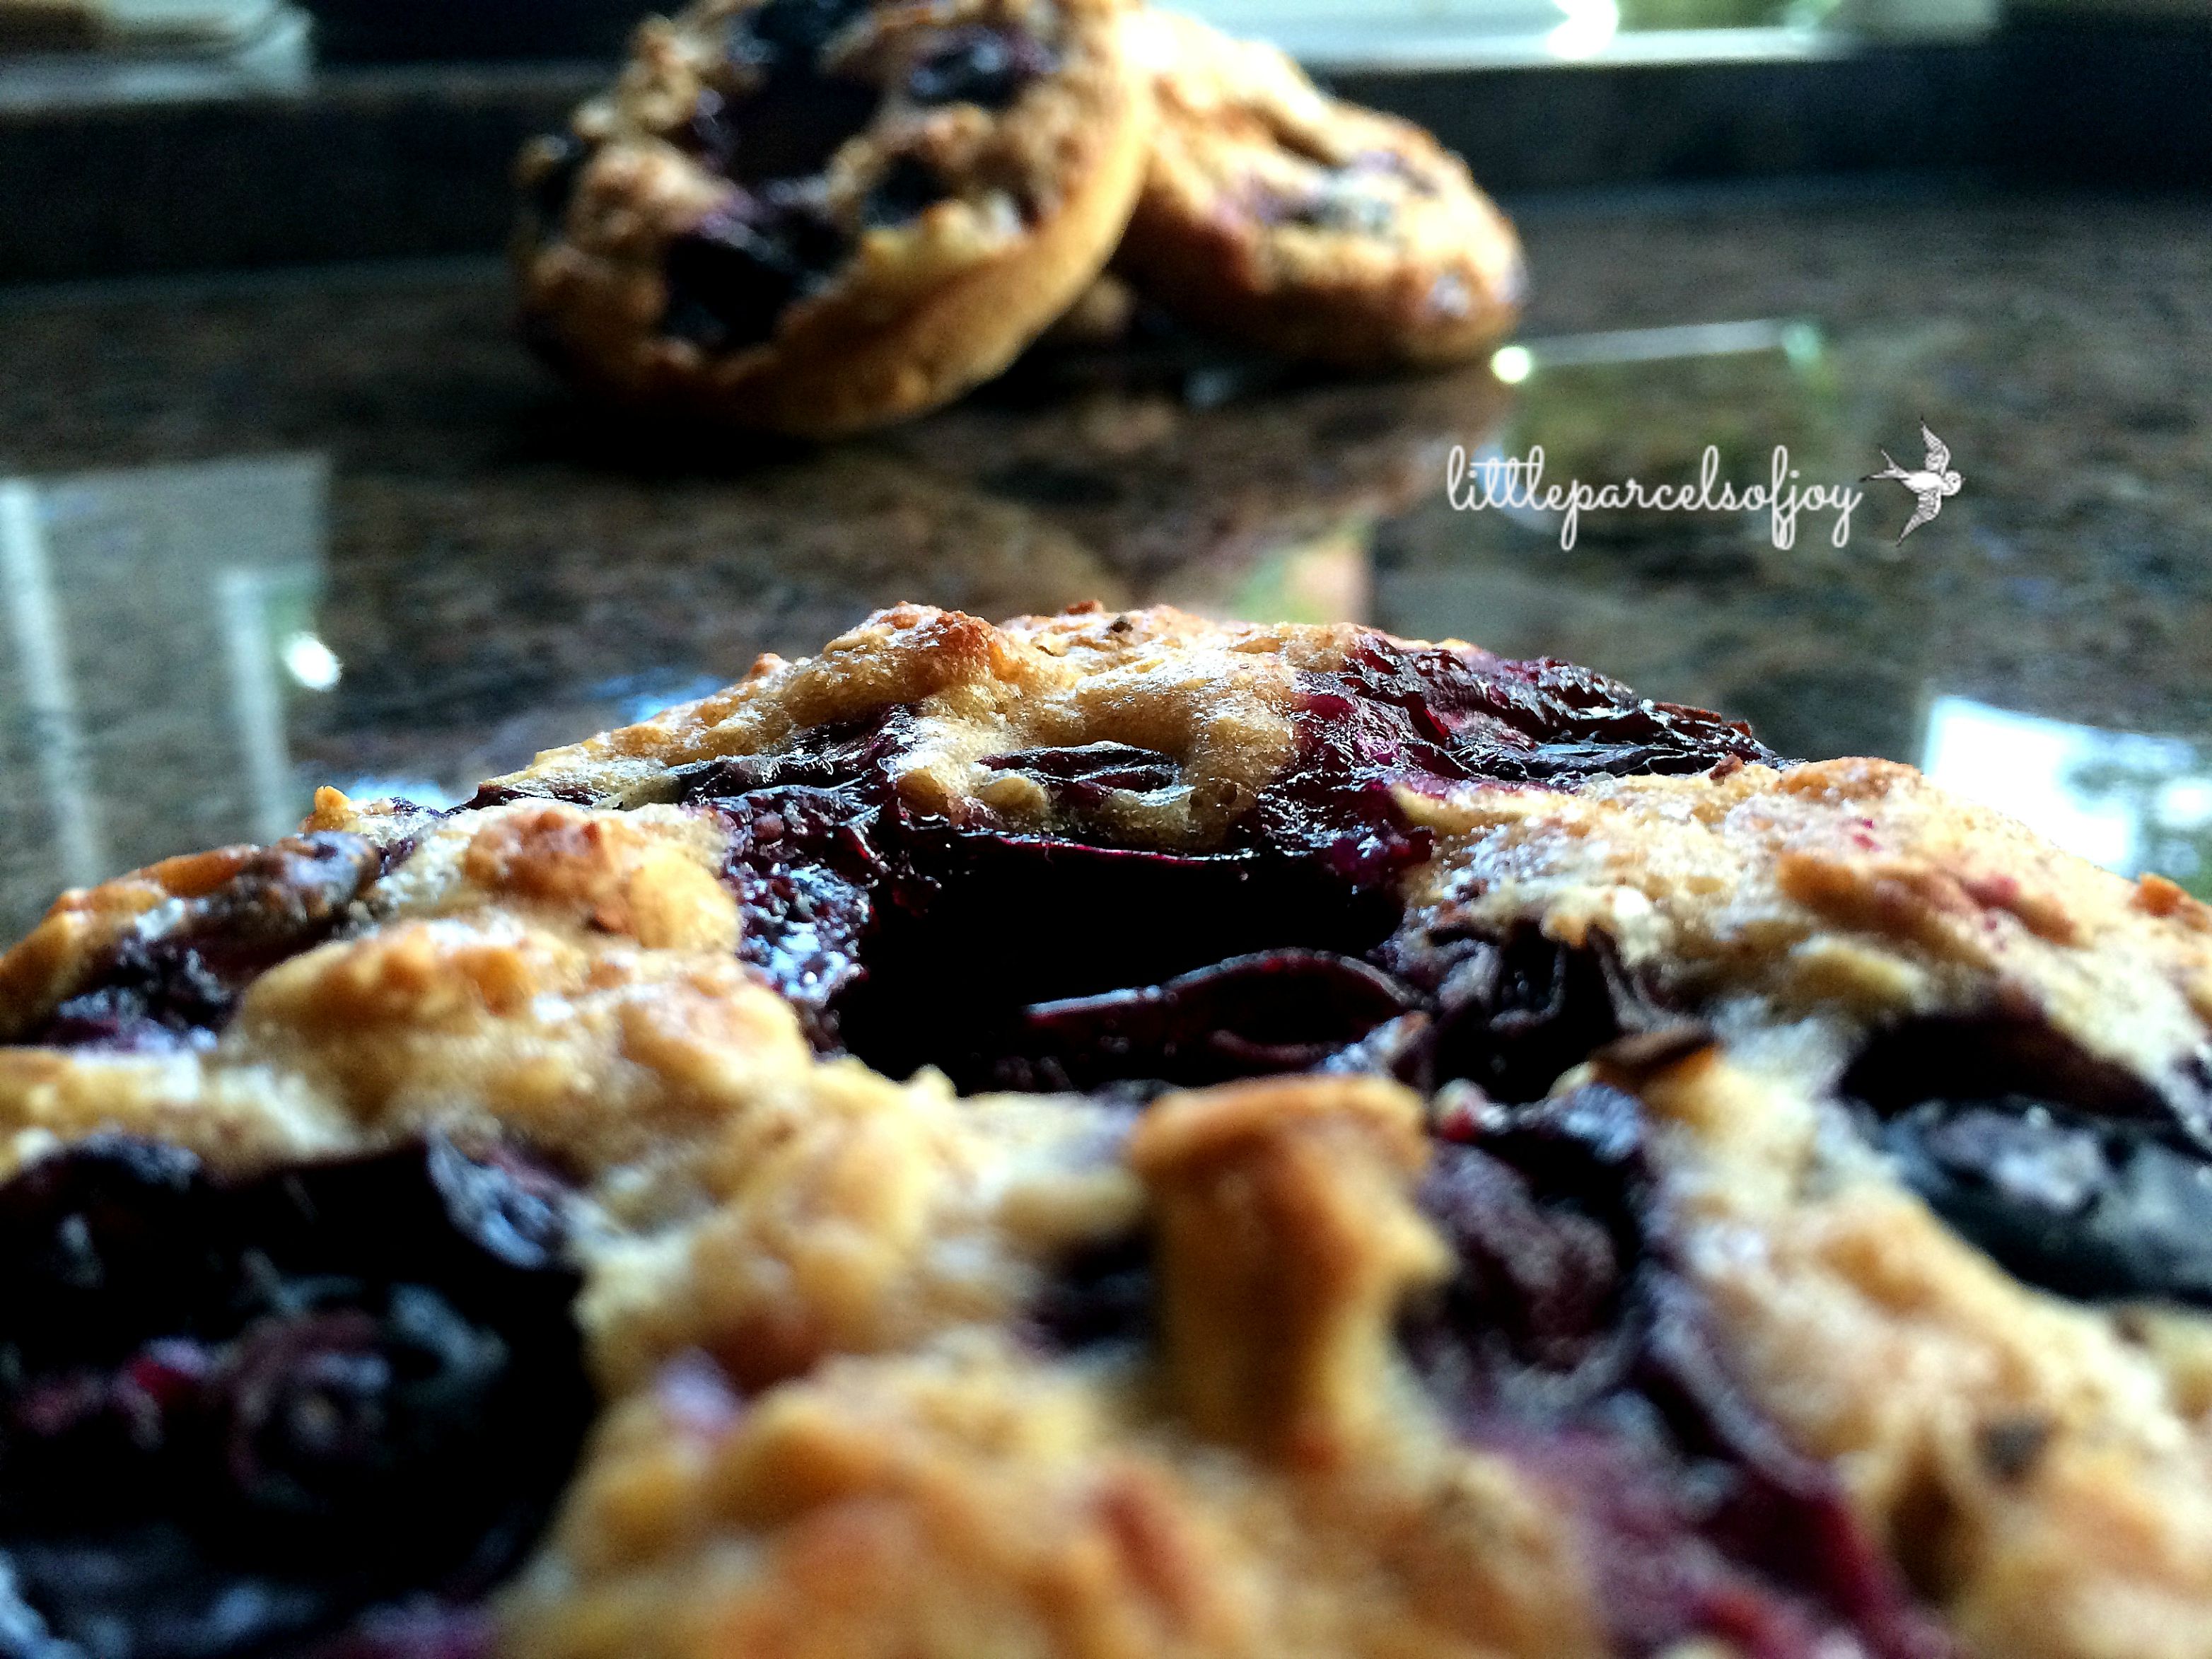
Do not fear, I’m still baking my classics on a weekly basis, but the experiments and complicated bakes are not on my priority list.

So what I am attempting to express, is that I am taking a little break from the blog, however I didn’t want to just disappear and stop posting without any explanation.

So there’s my explanation!

Thank you for those who have become regulars, I will still be scrolling through your yummy recipes and posts, and may or may not, post every now and then, just to let ya’ll know I’m still alive.

Wish me luck!

🙂

xxx

Hazelnut, Pear & Sticky Toffee Tart

So along with the apple picking and autumnal weather, it also seems to be pear season. I’m not the biggest fan of pears, especially cooked pears. I’m also not the biggest fan of nuts. Or dates for that matter.

Want to know the weird thing? I absolutely LOVED this tart.

Like, seriously, seriously, loved it.

IMG_1015

IMG_1016

IMG_1018

IMG_1019

IMG_1020

IMG_1021

The soft, crumbly pastry was so sweet and tasty. The warm, moist pears were to die for. And the actual filling was just on another level; the flavours and texture were simply incredible. I will most definitely be baking this one again.

IMG_1024

IMG_1025

IMG_1026

IMG_1028

IMG_1030

Don’t even get me started on the toffee sauce. I have my own standard recipe that I use, and it’s always been simple and yummy. Yet the double cream in this recipe completely transforms it.

I love love love sticky toffee pudding (recipe can be found here) and it’s definitely a classic. But if you want something slightly different, a pastry pudding full of flavour and texture, this one’s your man. Or woman. Can a tart have a gender?! (gosh this is taking me back to Uni days and writing my dissertation on gender difference)

+ IMG_1031

IMG_1039

So…. Go bake this…. Now…. Seriously…. Can you tell I’m now passionate about pears, nuts and dates?!

Good ol’ Paul Hollywood, thanks for this one!

IMG_1041

Hazelnut, Pear & Sticky Toffee Tart (serves 8)

                      For the pastry:                     

200g plain flour

2 tbsp icing sugar

100g unsalted butter

1 egg, lightly beaten

1 tsp lemon juice

2 tbsp very cold water

For the filling:

150g stoned dates, roughly chopped

150ml milk

3 ripe pears

50g unsalted butter, softened

1 tsp vanilla extract

100g plain flour

1 tsp bicarbonate of soda

50g ground almonds

2 eggs

100g light muscovado sugar

2 tbsp black treacle

75g shelled cobnuts or hazelnuts, roughly chopped

For the toffee sauce:

200g light muscovado sugar

50g unsalted butter

250ml double cream

  1. To make the pastry: mix the flour and icing sugar together in a bowl. Add the diced butter and rub it in with your fingertips until the mixture looks like fine breadcrumbs
  2. Mix the egg with the lemon juice and water. Make a well in the centre of the flour mixture and pour in the egg mix. Using one hand, work the liquid into the flour to bring the pastry together. If it seems too dry, add a splash more water. When the dough begins to stick together, gently knead it into a ball. Wrap in cling film and rest in the fridge for at least 15 minutes
  3. For the filling: put the chopped dates and milk in a pan. Bring to the boil, and then set aside for 30 minutes to soak
  4. To make the toffee sauce: heat the sugar, butter and cream together in a pan over a low heat until melted and smooth, then bring to a simmer and let bubble for 5 minutes to thicken. Leave to cool
  5. Heat your oven to 180°C and have ready a 25cm loose-based fluted tart tin
  6. Roll out the pastry on a lightly floured surface and use it to line the tart tin. Prick the base with a fork. Peel, quarter and core the pears; slice each quarter in two. Arrange in a circular pattern in the tart case. Drizzle over about 3/4 of the toffee sauce and place in the fridge while you prepare the rest of the filling
  7. Mash the date mixture to a coarse purée with a potato masher. Tip it into a bowl with the softened butter, vanilla, flour, bicarbonate of soda, ground almonds, eggs, sugar and treacle. Whisk together with an electric whisk until just combined. Stir in the chopped nuts
  8. Spoon the date and nut mixture over the pears in the pastry case, spreading it out evenly. Bake the tart on the hot baking tray for 40 minutes, until the filling is well risen and browned. Leave to stand for 10 minutes before removing from the tin
  9. Serve the tart warm, with clotted cream or ice cream and the rest of the toffee sauce.
  10. ENJOY!

Pork, Apple & Cider Pie

It’s been apple picking season for us this past week or so. We’ve got delicious Reverend W Wilks and Worcester Pearmains. They smell so lovely and sweet, fresh off the trees. There’s nothing quite like waking up early, the air is starting to get a little crisp, the field is misty and the apples are ready to cook with.

IMG_0973

IMG_0975

Watch out for more apple related posts!

A few dinners ago I decided on a pork, apple and cider pie; autumn is upon us! Shoulder is particularly tasty, and with the apple and cider, this pie is so so so simple yet so flavoursome. It’s sweet homely aromas filled the kitchen, the mash and greens complementing the pie perfectly.

IMG_0971

IMG_0976

IMG_0980

IMG_0979

 The cider pastry recipe is particularly scrummy, and might just have made it into my favourite pastry bakes.

IMG_0982

IMG_0983

IMG_0985

IMG_0990

And what’s better than using your own apples in a yummy pie for dinner hey?!

ENJOY! 🙂

IMG_0988

Pork, Apple & Cider Pie (serves 4)

For the cider pastry:

1 egg, beaten

125ml dry cider

125ml olive oil

1 tsp baking powder

Pinch of salt

375g plain flour

1 egg, to glaze

For the filling: 

1 tbsp

1 sweet onion

2 celery sticks, de-stringed and chopped

500g pork shoulder

2 tbsp plain flour

175ml dry cider

1 cooking apple (about 150g) peeled, cored and sliced

2 eating apples (about 250g) peeled, cored and sliced

4 sage leaves

Salt and pepper to season

  1. To make the pastry: beat the egg in a large bowl with the cider, olive oil, baking powder and salt. Slowly mix in the flour until you have a soft dough (you may not need all the flour) Wrap the dough in cling film and leave to cool in the fridge for around 45 minutes
  2. To make the filling: Heat 1 tbsp oil in a large pan over a medium-low heat. Add the onion and celery and cook for around 5 minutes, until soft. Remove the vegetables from the pan
  3. Add a little more oil and increase the heat to medium-high. Brown the pork well on all sides. Turn the heat down a little and return the vegetables to the pan. Sprinkle the flour over the ingredients and cook for 1 minute. Gradually add the cider and stock, stirring so the flour is absorbed. Add the apples and sage. Bring to the boil and reduce the heat, simmering for around 45 minutes, until the pork is tender. Taste the sauce and season to taste
  4. Heat your oven to 200 degrees and position a pie funnel in the middle of your pie dish
  5. Spoon the filling into the dish. On a lightly floured surface, roll out the pastry and lift the pasty sheet over the pie, pressing down the edges to seal (I usually find sticking strips of pastry around the rim helps keep the sheet in place). Crimp the edges and decorate with pastry leaves and berries
  6. Brush the lid with a beaten egg and bake for around 35 minutes, until golden and crisp
  7. Serve with mash and greens 🙂

Banana Doughnuts with a Chocolate Glaze

Yes I am back on the doughnut baking hype!

I’m up against a busy few weeks of work, thus on my day off today, what do I think of baking…. but of course, doughnuts!

IMG_0814

IMG_0816

IMG_0817

IMG_0818

IMG_0819

IMG_0821

IMG_0823

Today I wanted simple, plain, good ol’ doughnuts with a nice shiny chocolatey glaze. Obviously I had to include bananas, because, why not?! The addition of buttermilk gives them that all too lovely twang, yet the sweetness of the bananas and brown sugar creates the yummiest of combinations.

IMG_0826

IMG_0827

IMG_0830

IMG_0832

IMG_0842

These are soooooo scrummy we pretty much ate the whole lot in one sitting… we weren’t actually sitting…. we were all standing around the doughnut pan…. there’s nothing quite like a warm doughnut with a chocolate glaze fresh out the oven.

Enjoy ❤

IMG_0837

Banana Doughnuts with a Chocolate Glaze (makes around 8)

125g plain flour

1 tsp baking powder

¼ tsp bicarbonate of soda

¼ tsp ground nutmeg

¼ tsp cinnamon

Pinch of salt

1 egg

65g light brown sugar

60g unsalted butter, melted

2 ripe bananas, mashed

1 tsp vanilla extract

2 tbsp/30ml buttermilk

For the glaze:

100g dark or milk chocolate

1 tbsp rapeseed oil

1 tbsp golden syrup

  1. Preheat the oven to 180 degrees and spray your doughnut pan with non-stick spray
  2. Whisk the flour, baking powder, bicarbonate of soda, cinnamon, salt and nutmeg in a medium bowl
  3. Whisk the egg and sugar together until smooth. Whisk in the melted butter, mashed bananas, vanilla extract and buttermilk, until fully combined
  4. Pour the wet ingredients into the dry and stir until just combined, be careful not to overmix, otherwise the doughnuts will be too dense
  5. Spoon the mixture into your doughnut pan, or use a piping bag (whichever you prefer)
  6. Bake for around 8 minutes or so, until they have browned a little. Remove from the pan and allow to cool slightly before glazing
  7. To make the chocolate glaze: melt the chocolate, oil and golden syrup in a pan over a low heat. Dip the doughnuts into the chocolate glaze and sprinkle over pretty much anything you want (I left mine plain because I was in a plain mood 😉 )
  8. I find that they are best eaten on the same day, but if you don’t quite manage that, you can pop them in the microwave for a few seconds to soften and warm up!

*inspired by sallysbakingaddiction*

My Favourite Banana Bread [with nutella this time]

It was a banana bread kind of day today. I had 4 bananas hanging on my banana tree looking very very bruised and sorry for themselves; now they are very very mashed and happy in my bread!

IMG_0218

IMG_0220
IMG_0231-001

IMG_0232-001

IMG_0234-001

IMG_0251-001

I loooooooooooove this recipe and make it all the time, but today was special, because I dolloped a load of nutella in the middle. You can add pretty much whatever you want (or keep it plain and simple with no “swirl”).

IMG_0239-001

IMG_0245-001

IMG_0249-001

It was too good today, thus I had to share.

Click here for the full recipe and instructions in my previous post….

ENJOY ❤

IMG_0255-001

Blueberry & Oat Doughnuts

Owning a doughnut pan is a very very risky business. I feel as though it is possible I may have gained at the very least half a stone in weight – simply from doughnuts.

IMG_0094

IMG_0095

IMG_0100

IMG_0102

So to make myself feel very slightly better, I made up a rather healthy and rather tasty recipe! I’ve had some applesauce in my fridge for a while and have been meaning to put it to good use. If you don’t have any in the cupboard, yogurt could be another good healthy substitution for the ‘fat’. I love the addition of blueberries, spilling and bubbling over the top, creating a sweet and subtle flavour. The applesauce is quite tangy, and it’s not everyone’s cup-o’-tea, but I kinda like it!

IMG_0103

IMG_0105

IMG_0111

IMG_0119

Considering these are so so low in calorie and still considerably satisfying when you simply need “a bit of scran” (don’t you just love British slang), they definitely stand alongside my insanely healthy flapjacks!

The fact that you still feel as though you are holding a doughnut (oh that wondrous and godly shaped treat) basically makes you love them either way. Who doesn’t love a doughnut?!

IMG_0106

IMG_0107

IMG_0115

Enjoy! ❤

Blueberry & Oat Doughnuts (makes 6)

50g rolled oats

30g plain flour

1 tbsp soft brown sugar

½ tsp cinnamon

1 tsp baking powder

2 tbsp applesauce

60ml soya milk

1 tsp vanilla extract

Handful fresh blueberries

  1. Preheat the oven to 190 degrees and spray your doughnut pan with non-stick spray
  2. Mix your dry ingredients together and then pour in the wet. Gently fold in the blueberries until fully combined
  3. Pipe or spoon into your tin (whichever you find easiest) and bake for around 15 minutes
  4. Remove from the oven and cool on a wire rack

Quintessentially British Buttermilk Scones

Everyone seems to rave about using buttermilk in scones. I regularly bake scones; plain, fruity, sweet, savory, and so on. They are quintessentially British, and nothing seems better than a cream tea (check out my classic recipe here). When you become a regular scone baker (it’s not that hard – you’ll get addicted) you suddenly transform into a scone freak; I’m talking getting the perfect amount of raising agent, right amount of golden colouring, perfect combination of light yet somehow thick, creamy texture, with a sweet but not overwhelming flavour.
IMG_0284
IMG_0286
IMG_0288
IMG_0289
IMG_0290
But very rarely do I use buttermilk to achieve this. Mainly because I like my favourite recipes, so why branch out and use another, when I know I can rely on my trusty, classic, traditional, simple, sturdy, good ol’ scone recipe..? (here it is if you haven’t already found it 😉 )
IMG_0291
IMG_0292
IMG_0297
IMG_0298
I branched out. I did it. I went there. I was pleasantly surprised – these were super moist and super thick. Very different to my classic recipe, and I’m still not sure I prefer using buttermilk, I suppose it depends on preference (using buttermilk gives them a bit of a twang – a good twang – and also a rich density which doesn’t suit everyone).
IMG_0303
IMG_0302
IMG_0305
Of course I added strawberries at a last attempt to claim summer before it leaves us here in England. Not quite as fresh as in June/July, but still pretty scrummy! Especially with my homemade jam – Plum this time – new obsession along with the doughnut panJAM MAKING! Recipes (for the jams) are still being put together and tweaked, each batch seems to turn out slightly more runny or slightly more solid than the last, I’m slowly (very slowly) learning the art!
IMG_0304
IMG_0307
IMG_0309
Enjoy ❤
P.S. I can’t believe it’s September tomorrow…. where did the summer go?!
Buttermilk Scones (makes around 15)
450g self-raising flour
2 tsp baking powder
75g unsalted butter, cubed
75g caster sugar
100g sultanas/raspberries/strawberries etc
2 eggs, beaten
1x 200ml buttermilk (or 200ml milk & 1tbsp lemon juice)
1. Preheat the oven to 200 degrees and lightly grease your baking trays
2. Mix the flour and baking powder, then rub (using your fingertips) the butter in, until it resembles fine breadcrumbs
3. Stir in the sugar and any fruit you wish to add. Mix the eggs and buttermilk together in a jug and pour into the breadcrumb mixture (saving a little for later)
4. Turn the dough out onto a lightly floured surface, lightly kneading for 1 minute until it gathers together
5. Roll and pat out, cutting as many rounds as possible from the first rolling (I used a 2 inch cutter) Keep rolling out until you have used up all the dough
6. Brush the tops of the scones with the reserved egg and bake for around 10 minutes or until golden
7. Remove and cool on a wire rack – serve with clotted cream and jam, with a cup of Yorkshire tea!

Summer, Life, Honey & Jam

This post has been a long time coming, and I felt that it was necessary to FINALLY post it, as summer seems to finally be leaving us (here in England anyway!). So here are some of my special moments…..
IMG_9537
IMG_9530
IMG_9535
This summer has been one of my favourites. It’s been the hardest certainly, searching for jobs, working to earn little money with part time work to cover the summer and so on. But it has been a simple summer. I haven’t been able to afford much, but I feel as though I’ve done more than I’ve ever done before.
I’ve spent quality time with family and friends. I’ve walked Wilfy three times a day, breathing in the fresh country air and enjoying the wildlife around me. This summer I started to take in my surroundings, I mean properly stop, look, listen, smell (maybe not taste everything!) but truly take in what is around me. The plants, trees, flowers, animals and patterns of the weather. I haven’t turned ferrel or anything, as much as my boyfriend Gavin wants to camp out in our field and document everything that passes us by, but I’ve enjoyed the peace and simplicity of life in the countryside.
I’m lucky enough to live in a quiet village (on the border of Wales/England), where everything is green and kind of smells like manure all the time! I’ve enjoyed endless bike rides, picking homegrown fruit and veg, extracting honey from our bees and more.
Harvesting the honey was probably one of my favourite moments…. Here are a few pictures documenting the process and adventure (to anyone who keeps bees or knows anything about them, I won’t pretend to explain half of what goes into this – but here’s the dummie link with a basic overview, if anyone is interested!)
11225401_10206146653498633_5032291177153019571_n
My dad, not looking too pleased getting his photograph taken, and of course Wilfy trying to get in on the action!
11223604_10206146579976795_2862944454763753725_n
11745591_10206146648618511_8559506835963627835_n
Dad didn’t have much time on his hands this year, hence the dishevelled look of the frame – however the honey never tasted better!
 11753658_10206146579136774_5127489261059515061_n
11753652_10206146653378630_5034630684713218833_n
It’s tricky work taking pictures with sticky fingers!
11223701_10206146579416781_5285974282758231076_n
11701166_10206146600657312_4266193724857254247_n
We got 12 jars altogether 🙂
11760151_10206146648338504_8383856816904529076_n
10426589_10206146588297003_1406248840912719966_n
For my lovely nephew George…
11229300_10206146581976845_1141031283420893739_n
10418346_10206146600057297_8637750394555487101_n
  11667306_10206146594297153_5240867676633103181_n
We love the dark colouring and our thoughts are that it could be from the local hawthorn or clover that the bees absolutely love in our field, thus producing a rich colouring.   
11144960_10206146586776965_6262304819535673258_n
Making jam from our homegrown fruit was also a great moment. I’d never made jam before and don’t think I will ever stop making it now – it’s sooooooooooo easy! We had some lovely blackcurrants to use, creating a delicious dark and rich flavoured jam.
11737959_10206146577176725_7534798474416561117_n
11892046_10206362333250492_611731361577874879_n
11892046_10206362333850507_2439233052589907743_n
11907762_10206362333130489_7611321698486045446_n
This slowly turned into Blackcurrant, Strawberry & Raspberry jam, Plum jam and then Greengage jam! Each a little more runny or solid than the last, each with slightly more bits than the last, different shades of pinky purply reds, but ALL tasting simply AMAZING. *I will post the recipes for these in the next two weeks so watch out!*
IMG_0208
IMG_0206
11218814_10206362334930534_6301955589040408395_n
11891062_10206362334170515_2946046633912084897_n
11900019_10206362335610551_6571219428172821543_n
11035691_10206362335330544_1107511954659668078_n
11866479_10206362331930459_2527726282424461606_n
11953226_10206362336130564_7399199154886859294_n
We even enjoyed some tasty peas somewhere along the way (around mid July, early August). These were lovely with some white fish and a creamy white sauce.
11755878_10206146578696763_1473504799634980983_n
11223701_10206146577296728_2123258315350718125_n
So, saying goodbye to summer, I am now enjoying a lovely two week stay in Madeira. However a little part of me is looking forward to the autumn. Getting my woolly tights and boots out, and embarking on a long list of warming food; hearty broths, sweet pies, stews and scrummy treats (as always!).
Enjoy ❤

When Life Gives You Lemons – Grab Tequila & Salt – Or Loads Of Eggs & Make a Tart

I’ve never made a tart before…. *shock*gasp*horror*

I know…. I think I’ve kinda been putting it off, cause I don’t really like them, and I know they can be tricky little creatures, or big creatures for that matter. I’ve always made jam tarts, very tiny, very easy, jam tarts, literally just with a blob of jam in the middle, no work involved really.

However a rare moment happened a few weeks ago. My Grandad and Dad came into the kitchen, placed a magazine in front of me, with a recipe for a lemon tart spread across two pages. My eyes immediately went to the corner where there was an alternative salted caramel chocolate tart…. Now that was my cup of tea!

But, alas, after much dispute, it was decided I was to make this tart, not for me, not with chocolate, and not with great happiness, but for Grandad and Dad.

IMG_8955

It was actually really simple to make, I just needed SO MANY EGGS! Apart from the slight horror of using up almost all of the eggs in my cupboard, I warmed to the idea of a challenge and something new. That’s what bakers do right?!

After lots of prep and waiting for things to cool and carefully swaying a tray full of tart into the oven (boy was that a challenge) I actually kinda maybe potentially made a pretty sweet pie tart thingy.

IMG_8956

IMG_8960

I don’t really like lemon (much prefer orange), but it wasn’t too bad at all. The pastry could have been better, but I suppose that comes with experience, as well as the right amount of mixing and whisking with the filling. In fact I’m sure there are nicer and more fancy recipes out there for lemon tarts, but I liked the simplicity of this one (if I remember correctly, I believe it was a French recipe) and thought it was pretty good for innocent tart beginners like myself. Obviously I will be making a chocolate-y one soon enough….

IMG_8965

IMG_8969

But I wanted to share, as my Grandad and Dad thoroughly enjoyed it, as did I with the rustic appearance (I like imperfect things!).

Hope you enjoy and have a fabulous weekend ❤

Rustic Lemon Tart (serves around 6-8)

For the sweet pastry:

120g unsalted butter, softened at room temperature

75g icing sugar, sifted, plus extra for dusting

2 egg yolks

250g plain flour

2 tbsp water

For the lemon filling:

5 eggs

150g caster sugar

85ml lemon juice, around 3 lemons

2 tbsp finely grated lemon zest

150ml double cream

  1. To make the pastry: In a large bowl, cream the butter and icing sugar together, then beat in 2 of the egg yolks. Add the flour and rub the mixture with your fingers, creating a breadcrumb texture. Add the water (if you need it) and form a ball with the mixture. Knead the pastry on a lightly floured surface (try not to overwork the pastry otherwise it will be too hard – I knead for around 1 minute). Wrap in cling film and chill for around 30-60 minutes
  2. Making the lemon cream: In a medium bowl, whisk together the eggs, sugar, lemon juice and cream. Sieve and then add the zest. Place in the fridge to cool
  3. Take out the pastry and roll out onto a lightly floured surface. Roll into a circle, around 3mm thick. Here comes the tricky part! Roll the pastry over the rolling pin and unroll it over a (I used 24cm) loose-bottom tart tin. Gently tuck into the bottom edges of the tin so it fits nice and tightly. Cut off any excess (I wasn’t too bothered about a neat tart – hence the adjective rustic!). If you have any particularly loose or thin parts, use the excess pastry and press gently into rough areas to create a nice snug fit. Prick the base of the pastry with a fork and refrigerate for 30-40 minutes
  4. Cooking the pastry: Preheat the oven to 160 degrees. Now line the pastry case with greaseproof paper and fill with baking beans, pushing them against the side. Bake for 10 minutes, then remove from the oven and lift out both greaseproof paper and beans. Return the pastry to the oven and bake for a further 15-20 minutes
  5. Cooking the lemon cream: Turn the oven down to 150°C/ 275°F/Gas Mark 1. Pour the lemon mixture into your pastry base and carefully place it into the oven (CAREFULLY!). Bake for around 35-40 minutes, until just set. Remove from the oven and leave to cool for at least 30 minutes, then dredge icing sugar around the edge of the tart. Remove the tart from the tin and place on a serving plate. Enjoy!

Sweet Sugary Baked Doughnuts

As I mentioned in my last post, one of my brothers bought me a doughnut pan for my birthday (my family know me far too well!). And I’ve become obsessed…. Move aside strawberries and raspberries, its doughnut time!

IMG_0174

Laurence (my brother) visited with his fiancé this weekend, so of course, we had to bake some doughnuts. When I was younger and Laurence was still living at home (both my brothers are older, I’m the baby hehe), he always made a good assistant. Apart from annoying me deeply, trying to do things his own way, we would always have fun, and the cookies would always get iced twice as fast and twice as fun.

So with Laurence’s help, I made Sugary Cinnamon Doughnuts. They literally took 15 minutes to make, and they were gone in less than 15 seconds. My doughnut pan makes 6, and there just so happened to be 6 people in my house: Me, Laurence, Lisa (fiancé), Grandad, Mom and Dad (Wilfy had a few crumbs don’t worry!).

IMG_0149

IMG_0153

IMG_0154

IMG_0155

IMG_0156

IMG_0157

IMG_0158

If you don’t own a doughnut pan, I would suggest whacking it on your next birthday or Christmas list. I can’t wait to mess around with recipes and go crazy. Glazed vanilla doughnuts with sprinkles are next on my list, and then triple chocolate obvs, maybe some nutella in there also, okay I’ll stop now.

Today is a good stand-by recipe for baked doughnuts. The addition of nutmeg creates a real bakery style flavour, similar to my jumbo muffin recipes; Chocolate & Raspberry muffins and Chocolate & Almond muffins.

IMG_0159

IMG_0160

IMG_0166

IMG_0163

IMG_0164

Of course, being baked, they are already ten times more healthy than deep fat fried doughnuts (and still just as tasty – I think!), but I will also be on a mission to test some good healthy recipes – I’m thinking Blueberry & Oat Doughnuts??

Happy Sunday guys! ❤

Sugar Cinnamon Baked Doughnuts (makes around 8)

125g plain flour

1 tsp baking powder

1/4 tsp bicarbonate of soda

Pinch of salt

1/2 tsp ground cinnamon

1/4 tsp ground nutmeg

1 egg

70g light brown sugar

60ml milk (I used soya)

60g yogurt (I used natural low fat greek yogurt)

30g unsalted butter, melted

1 and 1/2 tsp vanilla extract

For the sugar topping:

 100g caster sugar (or icing sugar for a softer crunch)

2 tsp ground cinnamon

75g unsalted butter, melted

  1. Preheat the oven to 180 degrees and spray your doughnut pan with non-stick spray
  2. Mix the flour, baking powder, bicarbonate of soda, salt, cinnamon, and nutmeg together and set aside
  3. Whisk the egg, sugar, milk, and yogurt together until smooth. Now add the melted butter and vanilla, whisking until completely combined
  4. Pour the wet ingredients into the dry ingredients, but be careful to overmix otherwise you will end up with very dense doughnuts!
  5. Spoon the mixture into the doughnut pan – I used a piping bag as its less messy – but just go with whatever you find easiest
  6. Bake for around 8 minutes until lightly golden. Allow to cool a little before removing from the pan (I give them a good tap!)
  7. For the topping: mix the sugar and cinnamon in one bowl and melt the butter in another. Dip the doughnuts in the butter and then roll in the sugar, making sure they are fully coated…. Eat immediately!

*inspired by Sally*

IMG_0167

IMG_0173